Securing your home no longer requires expensive contracts and professional installers. The rise of smart technology has made installing a diy smart home alarm an accessible project for any homeowner. This guide will walk you through the entire process, from choosing the right components to setting up your system, ensuring you can protect your property with confidence and control. It is a straightforward path to enhanced peace of mind.
Understanding the benefits of a diy alarm system

Key advantages of a diy installation
Choosing a do-it-yourself security system offers significant advantages, starting with cost. You avoid expensive professional installation fees and binding long-term contracts. The primary expense is the initial hardware purchase, and optional monthly monitoring plans are far more affordable than traditional security services. This approach grants you complete financial control and flexibility over your home’s protection.
Flexibility is another core benefit of installing a DIY smart home alarm. You handpick the components tailored to your home’s unique layout, allowing you to place sensors and cameras exactly where you need them most. Furthermore, these systems are built for easy integration. They connect seamlessly with voice assistants like Amazon Alexa and Google Assistant, creating a unified ecosystem that is central to achieving true home automation.
- Significant cost savings with no mandatory contracts.
- Complete control over component selection and placement.
- Seamless integration with your existing smart home devices.
Key components of a smart home alarm kit
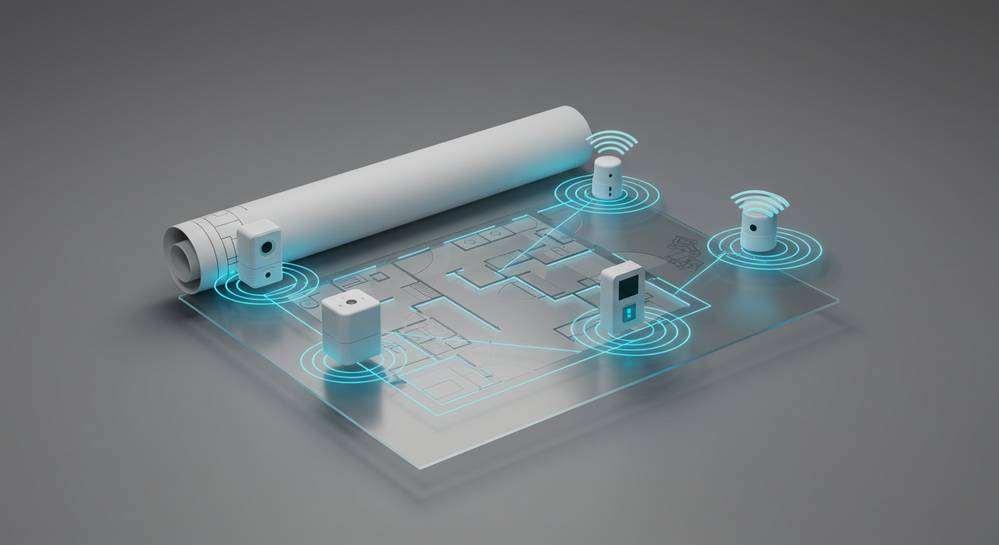
A typical DIY smart home alarm system is modular, allowing you to build a security network tailored to your needs. Understanding each component is the first step toward a successful installation. The system revolves around a central unit that coordinates all the sensors and devices, ensuring your home is protected from multiple angles.
Core components in your alarm kit
- Base Station: This is the command center of your system, acting as undefined. It connects to your Wi-Fi to communicate with every sensor, sound the siren, and send instant alerts to your smartphone.
- Contact Sensors: These magnetic sensors are placed on doors and windows. When the two parts are separated by an opening, a signal is sent to the base station.
- Motion Sensors: These devices are designed to detect movement in larger spaces like hallways or living rooms. Many modern sensors are pet-friendly, ignoring small animals to prevent false alarms.
- Keypad: A physical keypad provides a simple, phone-free way for family members to arm and disarm the system using a PIN code.
Planning your system layout for maximum security

Before you begin installing a diy smart home alarm, strategic planning is essential. A well-designed layout maximizes the effectiveness of each component, ensuring there are no security blind spots. This planning phase is the foundation of a reliable undefined. Start by sketching a simple floor plan of your home to mark all potential entry points and sensor locations.
Identify all entry points
Your first priority is securing every ground-floor door and window. Place a contact sensor on the front door, back door, and any other accessible entryways. For sliding glass doors, consider a sensor that also detects vibration from breaking glass for an added layer of protection.
Strategize motion sensor placement
Position motion sensors in high-traffic areas an intruder must cross, like a main hallway or living room. To avoid false alarms, do not place them facing a heat source or direct sunlight. The corner of a room often provides the widest and most effective detection angle.
Choose the right spot for the base station
The base station should be in a central location to ensure a strong signal to all sensors. It also needs to be near your Wi-Fi router. Crucially, avoid placing it in plain sight where an intruder could easily find and disable it upon entry.
A step by step installation and setup guide

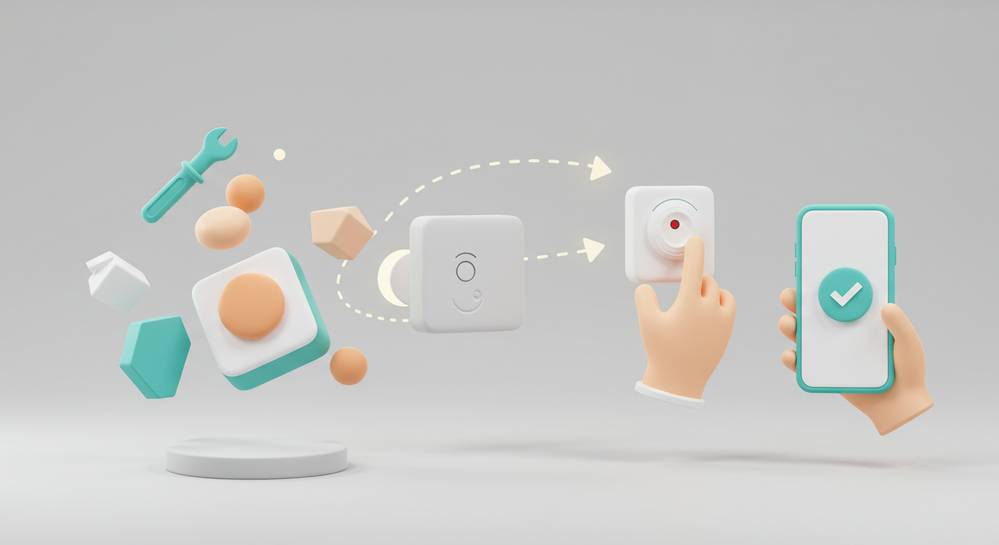
With your plan in place, the hands-on process of installing a diy smart home alarm is typically straightforward. Most components use adhesive strips for mounting, making the process drill-free and renter-friendly. Always follow the specific instructions included with your system, but the general steps are universal.
Set up the base station and mount sensors
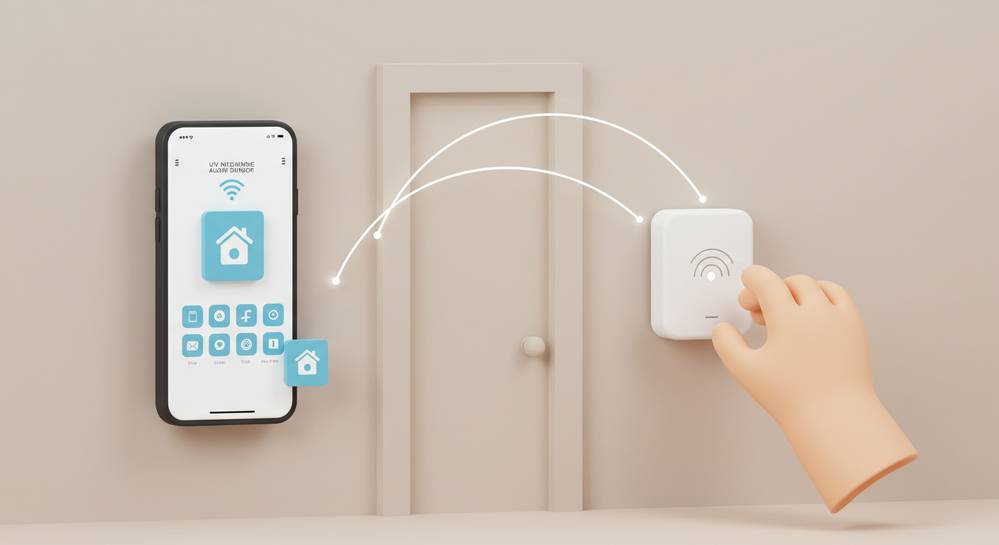
First, plug in your base station and connect it to your home Wi-Fi network using the manufacturer’s app. The app will guide you through the initial setup. Following your layout plan, start installing the sensors. For contact sensors, clean the surface of the door or window and its frame before applying the adhesive. Mount motion sensors in corners, about 6 to 8 feet off the ground, for the widest detection angle.
Configure settings and test your system
Once all hardware is in place, use the app to name each sensor and customize settings. Set your entry and exit delays, which give you time to leave after arming or disarm before the alarm sounds. The final step is critical. Put the system into its test mode and trigger each sensor to ensure it communicates correctly with the base station. A thorough test gives you confidence in your new security setup.
By following these steps, you have successfully fortified your home with a modern, reliable security system. The process of installing your own alarm not only saves money but also empowers you with full control over your home’s safety. For more innovative solutions to upgrade your living space, explore the expert-curated selections at Future Home Fixtures. Your smarter, more secure home awaits.


